In the first part of this article (which you can catch up on here) I wrote about Pixelmator as a replacement for Photoshop CS. I didn’t have to use Pixelmator for long to realise that it isn’t a viable replacement for Photoshop CS. But, given the price difference, neither is it realistic to do so.
So perhaps I was looking at it from the wrong viewpoint. Programs like Pixelmator are the sort of thing you buy because they supplement what you can do with Photoshop CS or Lightroom. They aren’t intended to replace these workhorses of photographic editing. You buy them because they are fun to use, and because they have a few special effects or functions that your other software doesn’t have.
So, in that light, I thought that today I’d look at a few of Pixelmator’s creative effects, to see if there’s anything there that is useful to photographers. Let’s start with a couple of Stylize filters, Vintage and Light leak.

The Pixelmator Effects Browser, showing the Stylize filters.
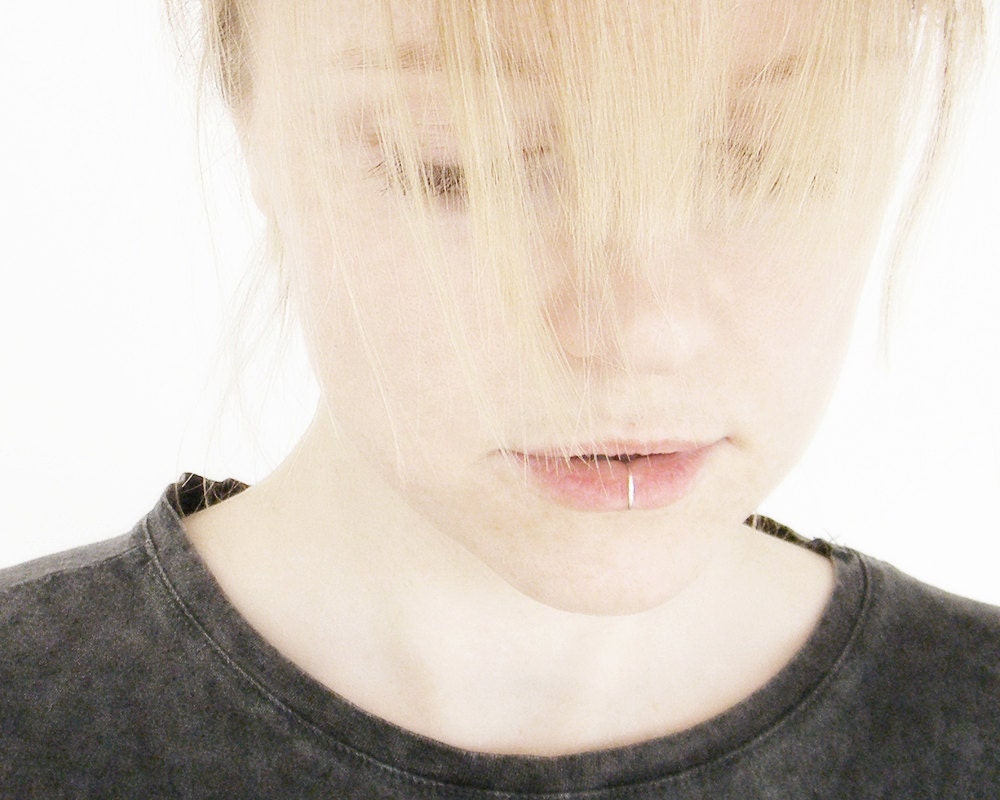
To start, here is a portrait that I processed and retouched in Lightroom. I’m very happy with the result. But is there anything that I can add to it in Pixelmator? Let’s see.

Vintage filters
The ‘vintage’ look is popular right now and Pixelmator lets you apply Instagram type vintage effects to existing photos.
Just like Photoshop you can apply the effects to a layer and use the Opacity slider to reduce the strength. You can apply localised tonal or colour adjustments and you have access to the full range of layer blending modes that you get in Photoshop. You can also use layer masks to control the area affected. In short, there is a lot of control and that means that each Vintage filter is just a starting point. You can make the effects as subtle or as strong as you wish.
There are seven Vintage filters to choose from. With each one you can adjust the saturation and add vignetting to suit:

Here’s one with the Freesia Vintage filter:

Here’s another with the Bouvardia Vintage filter:

I wanted to darken the edges, so I created a selection using the Elliptical Marquee Tool and went into Refine Selection. This screen shot shows how Pixelmator applies a red mask to indicate the unselected area, and the effect of any feathering or smoothing:

Incidentally, last time I mentioned that Pixelmator was running slowly, but it might be down to using it on a machine with just 2GB of RAM. I’ve since increased the RAM to 8GB, and the performance is better but it still runs slowly, especially with multiple layers.
Here’s the above photo with darkened edges:

Light Leak filters
The Light Leak effects imitate the effect you might get if you took some photos using a film camera that wasn’t sealed properly. Back in the day when everybody used film cameras this was considered a grave error of technique, but now, partly thanks to the use of toy cameras like the Holga, it’s become a trendy thing to imitate. If you have a digital camera there is no film door to loosen, so you need to use software like Pixelmator to apply the effect digitally instead.
There are eight light leak filters. With each one you can control the amount (or the strength) of the effect, the ‘sunniness’ (increase this to illuminate the scene with warm light) plus the direction and the spread (the size of the area covered). Again, there is a lot of control and you can make the Light Leak filter as strong or as subtle as you wish:

Here’s a new version of my portrait, with both Freesia Vintage and Arcturus Light Leak filters applied:

This is the same portrait with Freesia Vintage and Orion Light Leak filters:

Spotlight filter
Another filter I like is Spotlight. Using it is like adding a spotlight to the scene. You control the brightness, direction, spread and colour of the spotlight and can add as many as you want:

Here’s the portrait with Freesia Vintage and Spotlight filters applied:

The Spotlight filteris fairly subtle. You can make it stronger by layering several on top of each other, then using the curves tool to darken the image. It’s a nice way of making the model stand out from a dark background:

Miniaturise filter
The Miniaturise filter is for making photos look as if they have been taken using a tilt-shift lens or a view camera. It doesn’t replicate the use of these items exactly, but it does make your photos look as if they could have been taken using one of those.
You can also use it to introduce a lens blur effect into portraits. These screen shots show how you can alter the angle and the transition of the effect:


Here are before and after versions of the portrait (you will have to look hard to see the difference, it is most apparent at the bottom of the frame):

Conclusion
After a few hours experimenting with Pixelmator I must say I’m impressed with the depth of the program and the potential of it from a photographer’s point of view. If you’re into graphic design as well then you will benefit from the features of that side of the program as well, which I’m sure are extensive.
Pixelmator is a well thought out program that, like Photoshop, gives you a lot of control over your image editing through layers, blending modes, opacity sliders and layer masks. It contains most of the colour and tonal control tools that Photoshop users are accustomed to plus it has a full range of effects to help you make the most from your images in a creative sense. I must admit, I don’t see the point of most of the effects, perhaps they are aimed at people creating graphics rather than photographers. But there are several effects that are of interest to photographers, and they are the ones highlighted in this article.
Pixelmator isn’t a replacement for the image editing side of Photoshop CS but it is a useful addition to your software collection if you would like to use the creative effects such as Vintage, Light Leak or Spotlight. It is fun to use, and integrates well with Mountain Lion (the latest version of Mac OS X). There is certainly a case for using Lightroom to process your Raw files and doing without Photoshop CS, using software like Photoshop Elements and Pixelmator to carry out pixel level editing when required, as long as you can live with the eight bit processing of these programs.
The main drawbacks of Pixelmator from my point of view are speed (it does run slowly at times, even with 8GB of RAM installed), and an odd layers system that takes time to get used to. Neither does it have many options for converting images to black and white. But for the price, you won’t find better value for money.
Resources
You can learn more about Pixelmator at these links:
Official Pixelmator website. The site includes a free trial (the App store doesn’t support trials) and lots of tutorials.
PXM Tuts. Aimed mainly at designers but also contains some photography tutorials.
The post Introduction to Pixelmator: Part II appeared first on Andrew S. Gibson photography blog.


